Tuesday 19 December 2017

More work done on this build.  Completed the front section including the lights, track adjusters and spare wheel hold down, as well as the fenders and an overall coat of paint.

Right now it is finished until I get the suspension from the 3d printers. I have a piece of glass/clearish plastic to act as the glass for the headlight.


More work done on the suspension, finally received all the parts to finish this build...


Monday 18 December 2017

1/6 Bren Gun Carrier - almost complete

So I have been working hard on the model this past week and weekend and made some really good headway towards completion.  Now one of the things I am doing with this model is 3D printing the road wheels and suspension components.  Right now I am just waiting for Shapeways to have a sale so I can order these parts.  This is not a cheap way of doing this, but the end result will look amazing.

So I finished up the rear box interior, the rear section of the carrier and gave it a primer/top coat of paint.  Now at least it is starting to look like it should...


Thursday 14 December 2017

1/6th Scale Bren Gun Carrier - Rear Interior build

Been working on the carrier this week...getting closer to the end each day...today I finished the rear interior part (engine covers) etc...I still don't know how to to rivets....lol....Have to figure out how to do really tiny ones.  I have some brass rods that the ends look just like rivets and work great but its those little ones I have no idea how to do...Still have to add the grill on the rear engine section as well as the grills on the rear deck for exhaust...but its getting there.


Saturday 2 December 2017

1/6th scale Bren Gun Carrier build Part 2

Did some more work yesterday.  Was able to get the front section mostly done.  I say mostly as now comes all the little fiddly items....


as you can see, the front cover and left side cover are able to be moved...

more work to follow....

Friday 1 December 2017

1/6th scale Bren/Universal Carrier - Scratch Building

Well, been a bit but I have actually started two new projects. One is a 31 Ford sadan, the other is a WWII Bren/Universal Carrier.  Both are commission builds, although I have created enough parts, measurements etc to build more if needed.

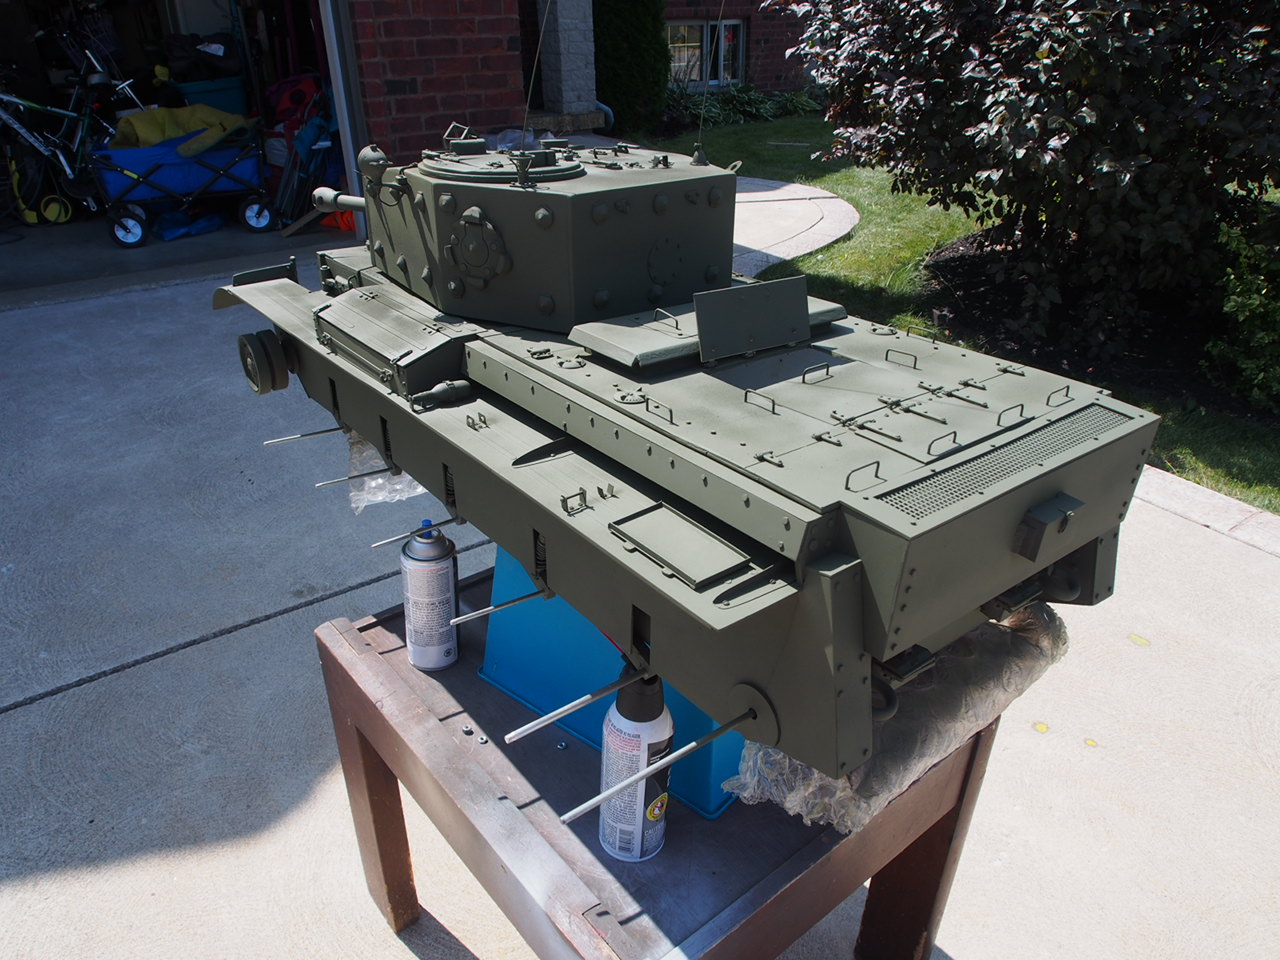
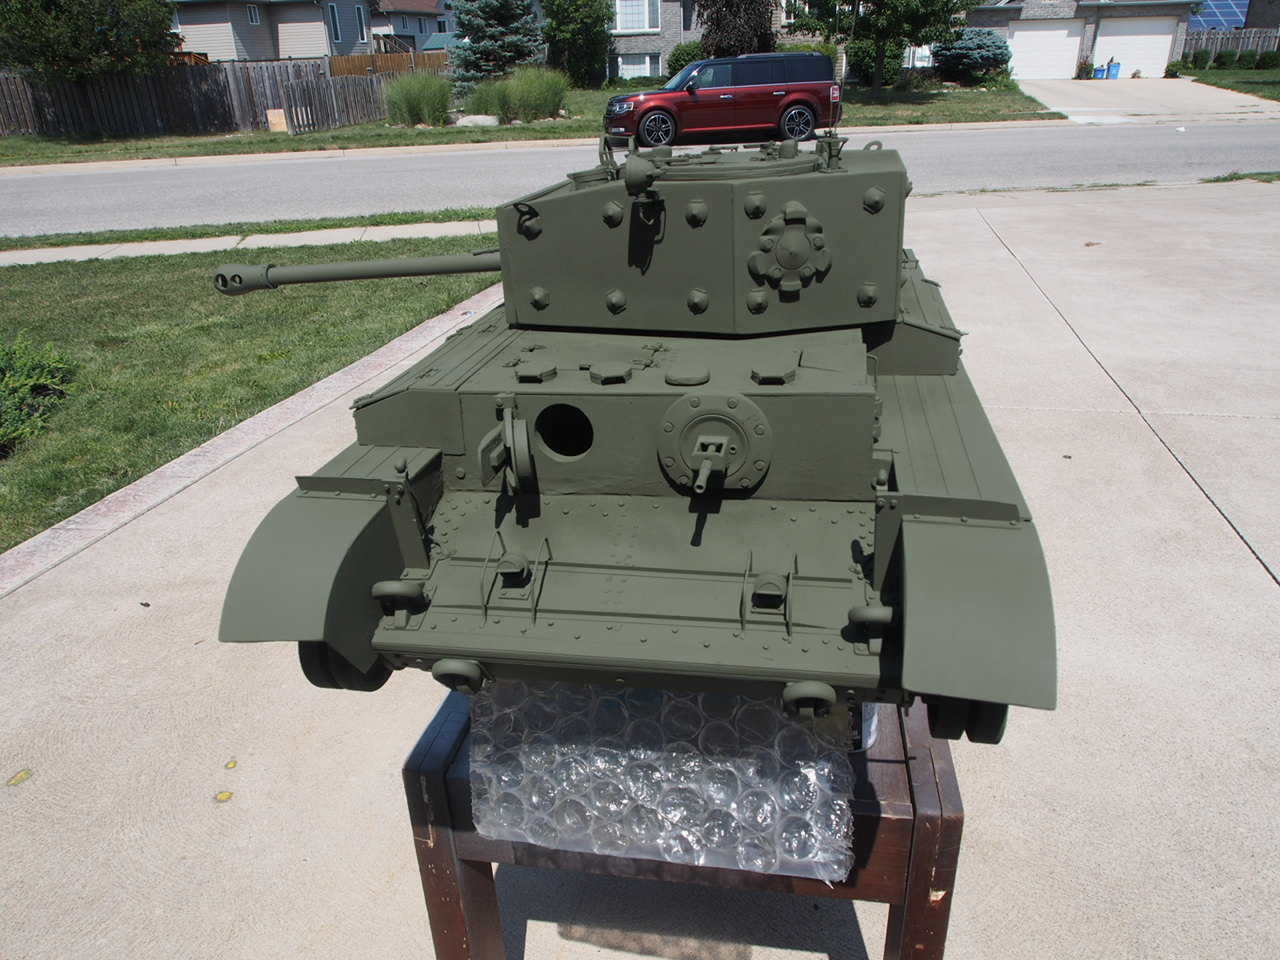
This carrier is a late war, welded hull version.  It will be Green in color with a small box in the back.  The new owner will have the fun of weathering it etc.

This build is a bit different in that I do not need to scale up a model, I already have a 1/6th scale carrier, made by Harold (pzwest) on various forums.  When Harold built mine, him and Geoff (Johnny Cannuck) used real world 1:1 scale measurements taken from a real bren carrier, so I am confident that my new one will be as accurate as the real thing.

a few WIP pictures....


More to come

Saturday 2 September 2017

Cromwell build update #3

Well hello again, just a quick update.  I was able to do a little more to the tank this week and was able to get all the wheels on it, including the axle caps, which i used brass screws to hold them in place, just like the real thing.  I have to admit, this tank is my favorite vehicle and build so far.  Its just a super cool looking tank and I am so happy with the way it has turned out.

Now the tracks are another story.  I am currently casting them as I write this but its going to be slow going as the mold i made can make 5 track links as a time.  As there are 125 links per side...thats 250 track links I need to cast.  So far I am averaging about 15 a day so if I calculated that right, it will take me about 16.6 days to finish.  That is only if I get a full 5 tracks each pull....

Update pictures....


Monday 28 August 2017

Cromwell build update #2

Hi again, was able to do a little more work on the Cromwell this week.  I have all the wheels rebuilt and sized (width wise) properly.  It was a lot of work which again, i could have avoided if I had just waited a few weeks to receive the tracks...oh well, lesson learned.

I was also able to add the sprockets and paint most of the wheels.  I say most as I ran out of paint with 2 wheels left ...ugg!  For the paint, I am am using Leak Seal in black for the tires.  I came across this tip from a good friend who used it on his road wheels for his Sherman.  The leak seal dries quickly, leaves a really nice finish in almost the perfect color for tires.  I tried it on my 2nd Sherman build and really like the look and feel of it when dry.

Here are a few pictures .... 1/6 figure there to show the size of this...


Saturday 26 August 2017

1/6 Cromwell Tank build-update

So I was able to do a little work on the Cromwell this week.  Nothing major as I am still in the process of casting the tracks and finishing up the road wheels.  There was a nice calm day so I took advantage and got some painting done.  Here are a few pictures...going green!

I also added the hatch padding to the gunners side as well attached the front idler wheels. My goal is to have this completely finished by Nov as there is a toy and model show I want to display it at.

next up...Weathering of the lower suspension area etc...