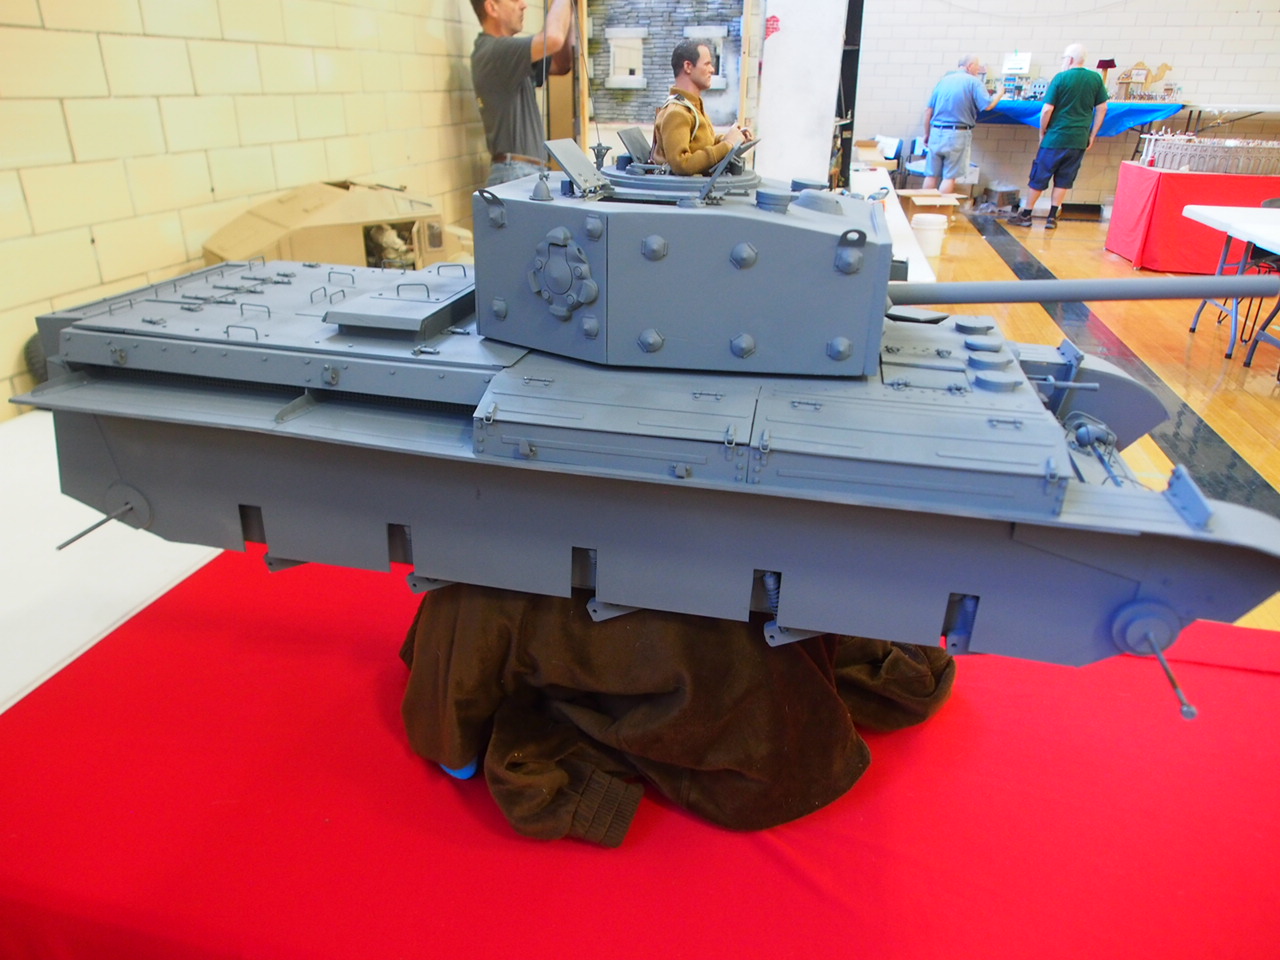
Hi, been awhile since I last updated this blog. been super busy with 1:1 life and well building the Adler 13 as well as my Cromwell. In case you didn't know I really got the bug for building a British/Polish tank. It was one of those projects that started as "can I do it" and morphed into "I can do this".
My technique was a little different on this build, I used the help of a 3d designer and 3d printed a number of parts for it. This work out fantastic, although it did add some additional cost to the project.
The one area I didn't except to be so costly was the tracks. I created a master and am currently molding and casting the rest. 125 per side to be exact. I wanted to 3d print them, to save time and energy but the cost was way to high. About $2500.00 to have then done though shapeways and about $1500 though a local printing service. Out of reach for this build. As it is I have about $300 or so invested in the wheels, tracks and other items I printed. Not bad for a tank this size.
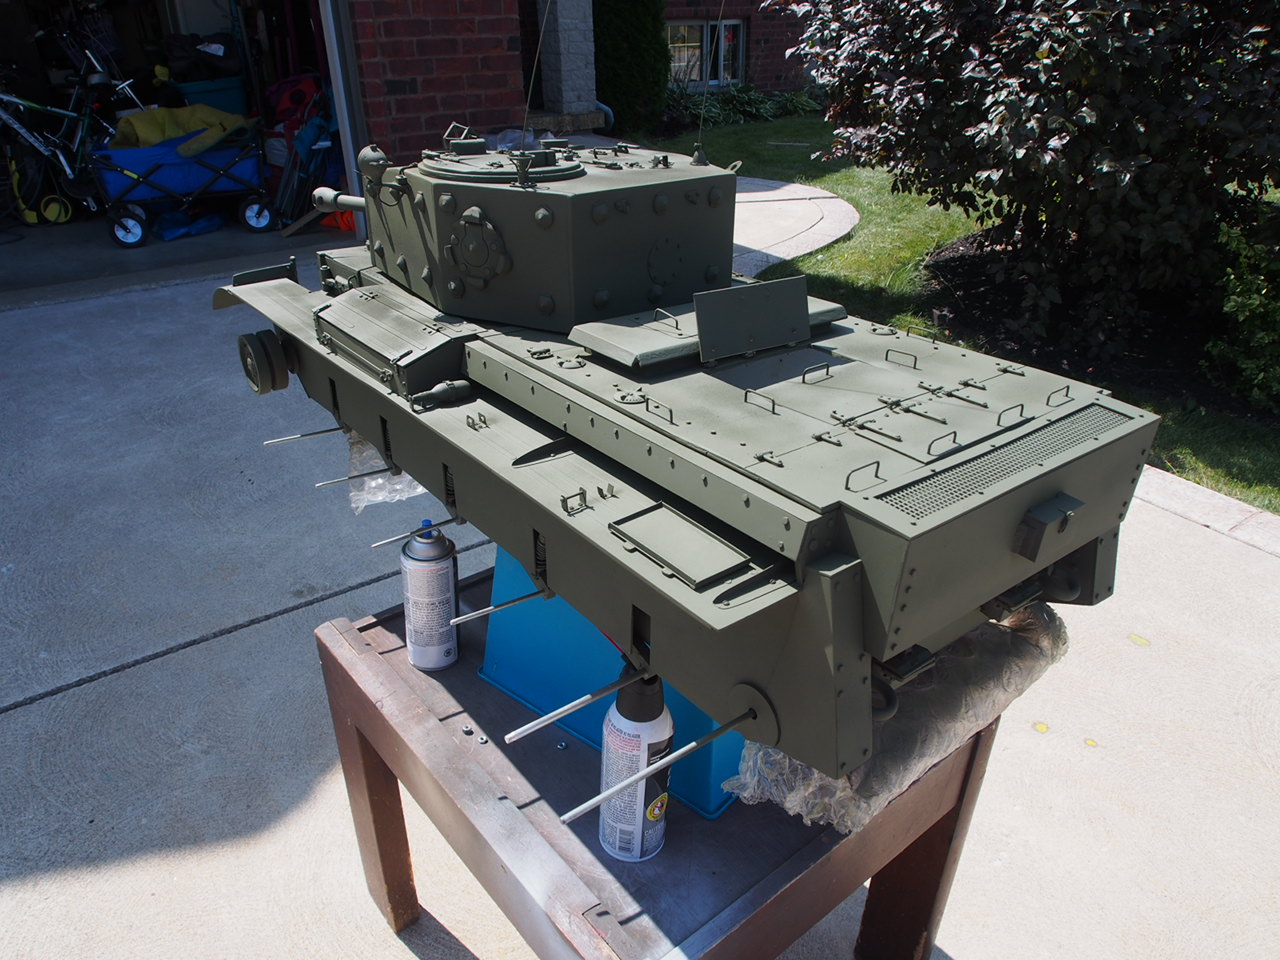
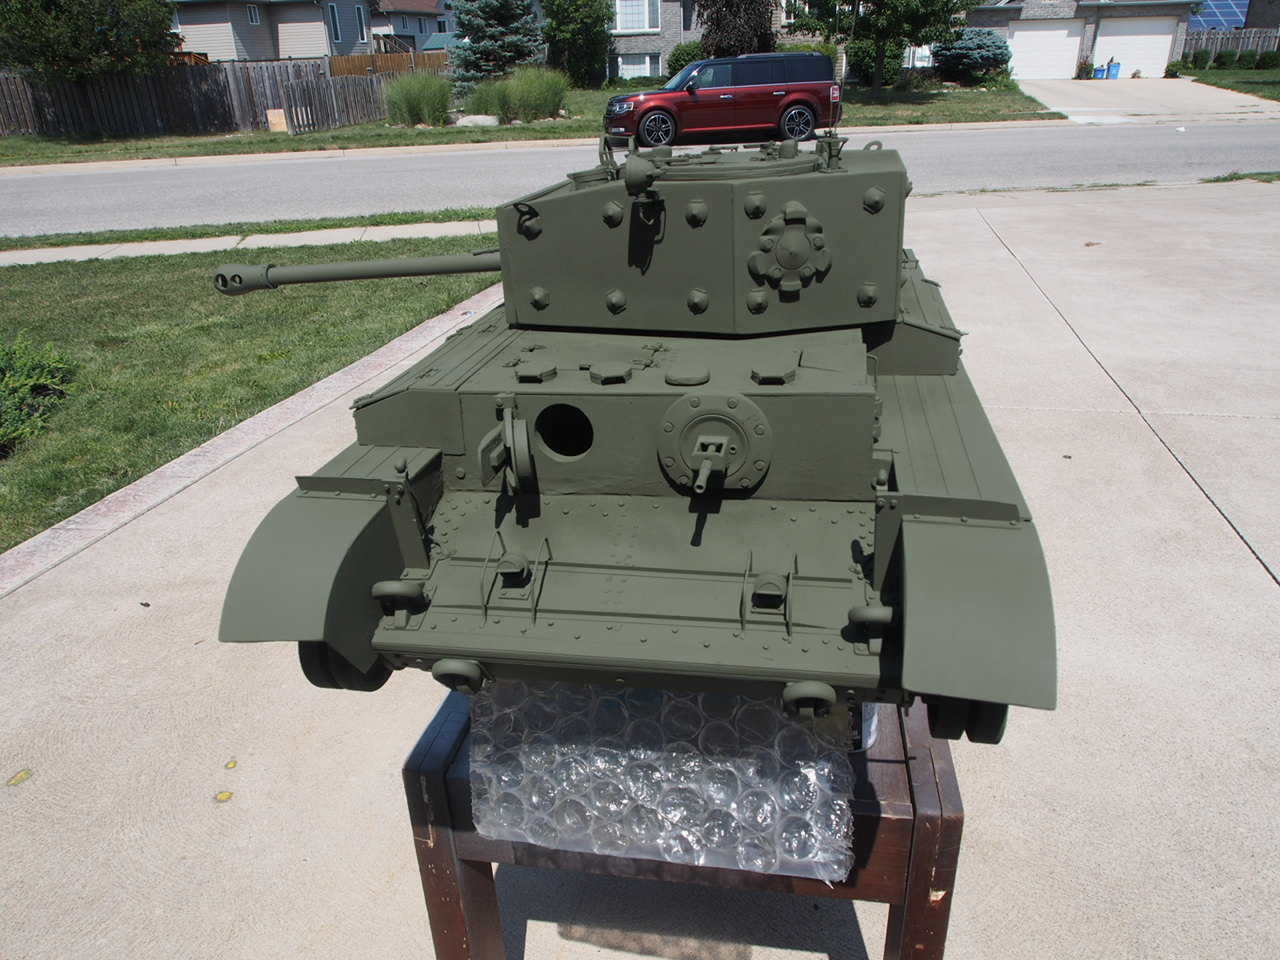
The build itself was pretty striaght forward, i used a 1/35 scale model and some blueprints to get my measurements form. The tank is complex especially the suspension. It is housed between two plates and I used RC shocks to make it a working suspension. Lots of fun and Im still not finished.
Here are a few WIP pics to show where I am at....
3d printed sprockets
3d printed Idler wheels and tracks as masters
Good overall view of the tank before wheels, sprockets & Tracks are added...
I will update this page when the tracks are complete and the tank painted, hopefully sometime in the next month or so...