Now that is out of the way, we can turn our attention to the lower hull. Why the lower hull you ask? Well, the lower hull is where all the suspension attaches to. But more importantly, its the next logical step in building this tank. I like to have the lower half of the tank complete, painted etc before moving to the upper hull and turret. Kind of like building from the ground up.
The other reason is this thing is going to start getting heavy, and fast. Once the suspension is on, it is going to be really difficult to flip it over and work on the bottom if you need to. Better to just do it all before the suspension gets added, that way you can move it around. These are big heavy tanks once done and the less you have to flip it the better. Its also a good time to get a box or platform for it to sit on where the wheels are off the ground. Again just for ease of moving it around.
The 1st thing you want to do when working with the lower hull is to remove the excess material cast into the under side of the sponson's. This material has no purpose and just gets into the way of the front fenders. Best to remove it while nothing is attached to it. Its also a good Idea to give the whole assembly a light sanding. This will remove any flash or off gassing from the plastic and make your paint stick better.

Unknown cast material on lower sponson?

Removed with sandpaper.
Now, I covered the transmission housing in the 1st post of this blog. It attaches pretty easily to the front of the lower hull with a minimum of fuss. I wish I could say the same for the rear section. It has got to be the most frustrating piece on this whole build (next to the tracks, but more on that later).
For one thing it is not wide enough to fit properly and no amount of clamping will make it. Its just to short width wise. Its just made this way from the factory. So the best you can hope for is to either center it and deal with the little gaps on both sides or align one side and deal with a bit of a larger gap. I chose to align one side and fill in the gap. I use home made plastic filler (styrene and paint thinner) as a paste. It drys hard as plastic because that is what it is. It also helps to tape it in place while the glue is drying that way there is less of a chance of it moving around on you.
But before we mount it, you might want to upgrade some of the parts on it. The rear hatch is something I changed out on this build. I went with the ECA one as the stock one is way to big, and is just a big mold piece of plastic. The ECA does require a bit more work but it looks much better, more in scale and it actually opens like the real thing. The other thing I did was fill in the back of the exhaust stacks. For some reason these are cast hollow. Filling them in makes them look much better as well as the addition of casting material. Once painted will really complete this area. Brass bolts replaced the stock cast ones.

How it looks out of the box. The rear hatch is molded in and does not open as well as being to large.
The exhaust flanges have poor bolt detail and will be sanded off and replaced with brass hardware.
In the photos below, I have removed the rear idler wheel sections as I will be replacing them with complete components from ECA, as well as cutting out the stock hatch. If you are using the ECA hatch, you need to add a bit of material around the opening as its a lot smaller then stock. I use styrene material cut to shape and glued into place to fill the gap. As well once the idler sections were removed I needed to add material to this area as well. ECA sells plugs for this but I wasn't sure if I was going to go this route until I did it....so I made my own parts, although in hindsight I should have just bought the ECA ones.


Rear engine hatch. Really nice detail and is the correct size

Exhaust stacks hollow in the back?
Filled in with casting resin. Then glued into place and casting material applied.

How it looks semi completed (with out primer and paint of course).

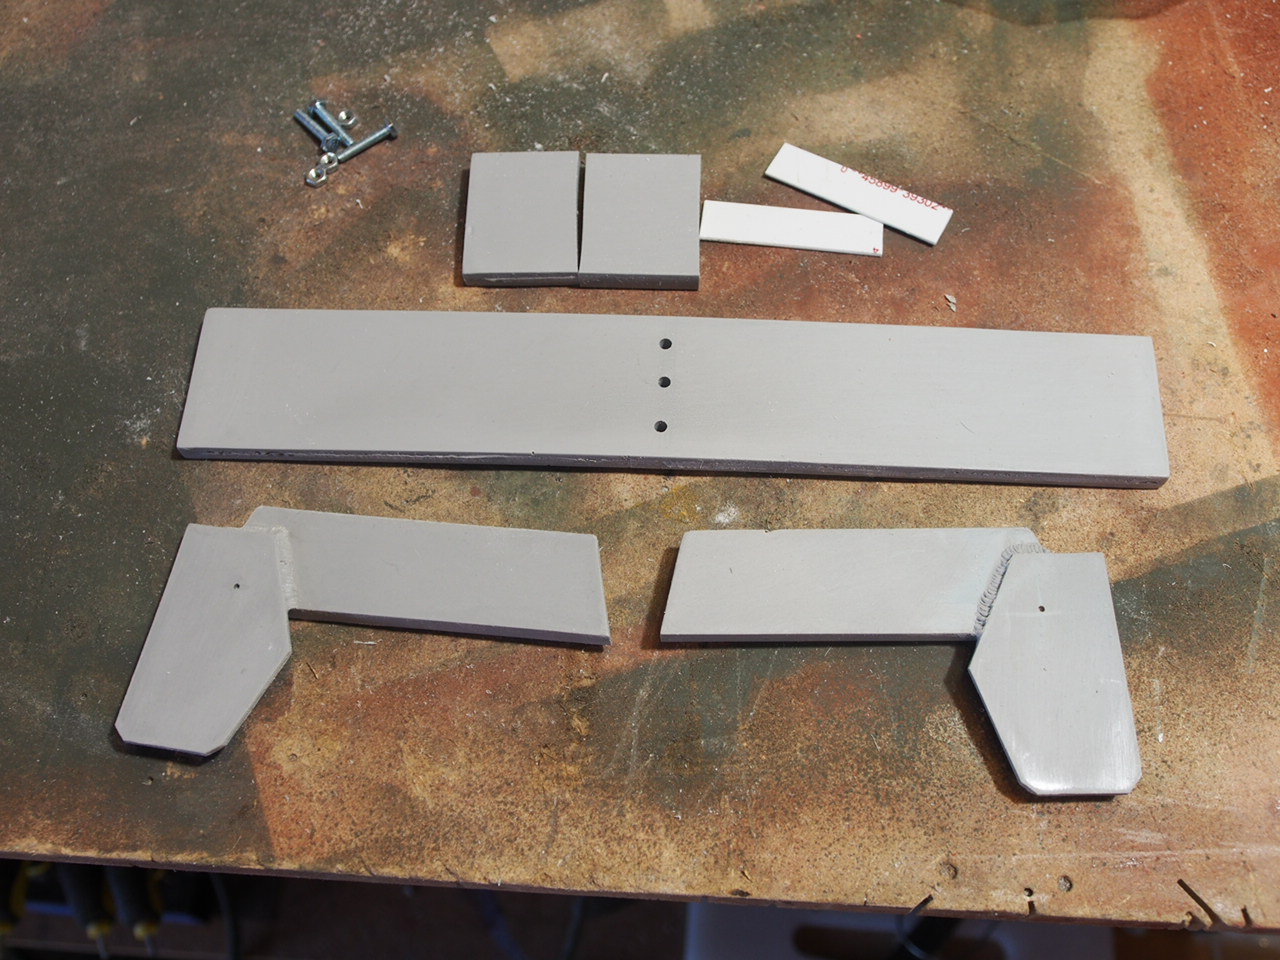
Installation areas to watch out for.


left on either side or in my case on one side. Although I filled in both sides with plastic material as there were tiny areas with gaps. The bonus of this is it helps create a stronger bond between the rear plate and the hull as well.
Another addition often overlooked is the underneath the sponson. There are two (one on each side) access caps. These are ones from ECA.

Next - rear lower hull extensions and adding the Suspension
No comments:
Post a Comment